

Epoxy floors have a reputation for being tough, beautiful, and nearly bulletproof, and when they're done right, that reputation is well earned. But there's a hard truth behind every epoxy floor that fails within a year: the coating almost never fails because of the epoxy. It fails because of what happened, or didn't happen, to the concrete before the epoxy ever went down.
Surface prep is the single biggest factor in whether an epoxy floor lasts two decades or starts peeling in two seasons. It's also the step that gets rushed, skipped, or done halfway more than any other, especially in weekend kit installations. If you're thinking about coating a garage, shop, or basement floor, understanding what proper prep involves will tell you more about the final result than any product label ever could.
Epoxy Doesn't Stick to Concrete. It Bonds Into It
The first thing worth clearing up is how epoxy actually adheres. People picture it like paint, a layer that sits on top of the surface. In reality, a good epoxy coating works by soaking slightly into the concrete and locking into its pores and texture, forming a mechanical bond. That bond is only as strong as the surface it grips.
Concrete that's smooth, sealed, dirty, or damp gives the epoxy almost nothing to hold onto. It's like trying to tape something to a dusty or greasy wall. The tape might stick for a moment, but it's going to let go. Every step of surface prep exists to give the epoxy a clean, open, dry surface it can truly bond into rather than just rest on top of.
Step One: Getting the Surface Truly Clean
Before anything else, the floor has to be properly cleaned, and that means more than a quick sweep. Oil, grease, dust, old paint, adhesive residue, and years of grime all sit between the concrete and the coating. Garage floors are especially prone to oil and transmission fluid that has soaked into the surface over time, and those contaminants have to come out, not just get wiped off the top.
This usually involves degreasing, scrubbing, and sometimes specialized cleaners for stubborn stains. Any spot that's been contaminated with oil will repel the epoxy in that exact area, leaving a weak point that can bubble or peel later. A floor can look clean to the eye and still be carrying enough contamination to compromise the bond, which is why thorough cleaning is treated as its own dedicated stage rather than a warm up to the real work.
Step Two: Opening Up the Surface Through Profiling
Here's the step that separates a professional job from a disappointing one. Bare concrete usually has a smooth, sometimes almost polished surface, and epoxy can't grip that. The surface has to be mechanically opened up, a process called profiling, so it has the right texture, or "tooth," for the coating to lock into.
There are two main ways this gets done. Diamond grinding uses rotating abrasive discs to grind away the smooth top layer and expose the porous concrete underneath. Shot blasting fires tiny steel beads at the surface to achieve the same result on larger or rougher floors. Acid etching is sometimes used as a lighter alternative, but it's far less reliable and often leaves the surface either under prepared or contaminated with residue, which is a big reason so many DIY kits underperform. Whichever method is used, the goal is the same: a uniformly textured surface that gives the epoxy a physical grip. This is also the step that reveals the true condition of the concrete, because grinding often uncovers cracks and imperfections that were hiding under the surface.
Related: The Real Cost of Waiting: What Happens When a Sinking House Goes Unleveled

Step Three: Repairing Cracks and Damage First
Once the floor is profiled, any cracks, pits, spalled areas, or divots need to be repaired before the coating goes on. Epoxy is not a filler and it won't bridge a gap or hide a defect. In fact, coating over an unrepaired crack usually makes it more visible, and if the crack is still moving, it'll telegraph right through the finished floor.
This is where it helps to understand what caused the damage in the first place. Some cracks are cosmetic and simple to fill, while others are a sign of ongoing movement or moisture pressure that needs to be addressed separately. Knowing why concrete cracks and spalls in our climate helps determine whether a crack is a quick patch or a symptom of something that'll keep working against the floor. Filling and leveling these areas properly gives the epoxy a continuous, sound surface to bond to.
Step Four: The Moisture Test That Everyone Should Do and Most People Skip
If there's one step that matters most in a wet climate like the Pacific Northwest, it's testing the slab for moisture. Concrete is porous, and in damp ground it draws water up from below and pushes vapor toward the surface, a phenomenon known as rising damp. When that vapor hits the underside of an epoxy coating, it builds pressure and breaks the bond, causing bubbling, blistering, and peeling no matter how well everything else was done.
This isn't a minor risk here. The moisture that moves through a slab can carry salts and interfere with any coating that traps it, and concrete poured on damp ground will keep pushing moisture upward for years. On top of that, our regional weather puts constant moisture pressure on foundations and slabs, which makes testing before coating essential rather than optional. A proper moisture test tells you whether the slab is dry enough to coat as is, or whether it needs a moisture mitigating primer or a different system entirely. Managing water around the home matters too, and keeping groundwater away from the slab with proper drainage, such as a French drain that redirects water away from the foundation, takes pressure off the concrete before the coating ever goes down. Skipping the moisture step is the most common reason epoxy floors fail early in this part of the country.
Related: How Long Do Epoxy Floor Coatings Last in the Pacific Northwest Climate
Why the Kits So Often Disappoint
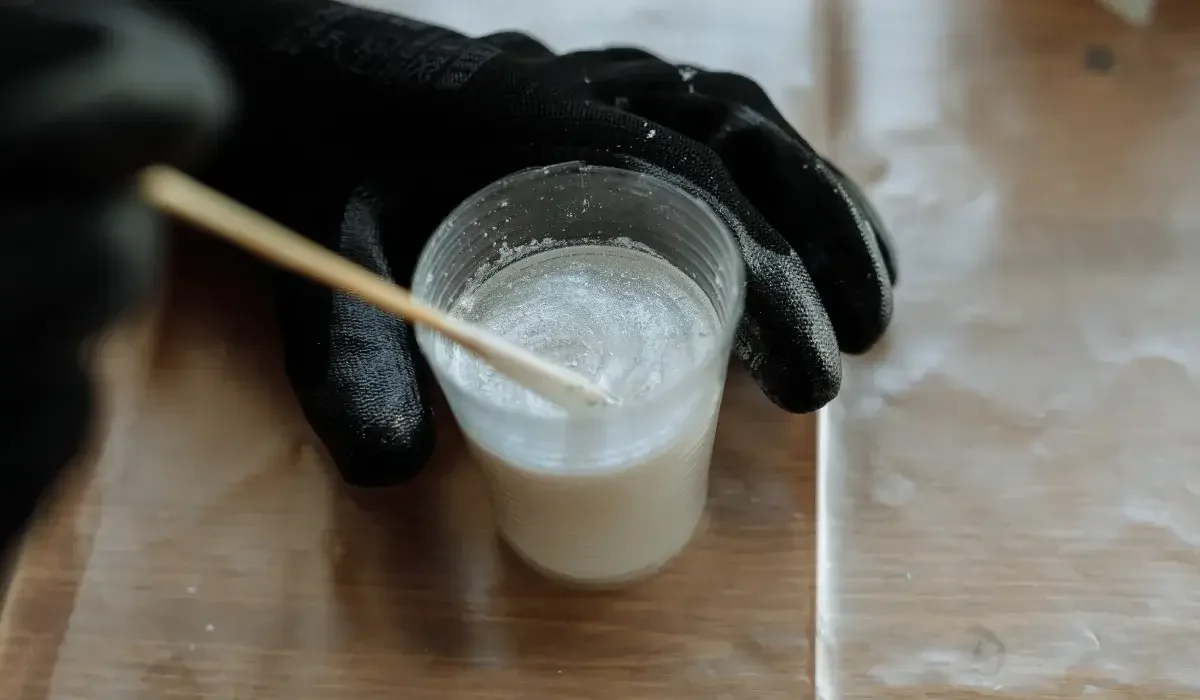
Understanding all of this explains why big box epoxy kits leave so many homeowners frustrated. Those kits sell the coating, but they rarely include real profiling equipment, thorough contamination removal, crack repair, or any moisture testing at all. A light acid etch and a roller simply can't replicate what diamond grinding and proper preparation achieve.
The epoxy in those kits isn't necessarily a bad product. It just never gets a fair chance to bond, because the surface underneath it was never truly ready. That's the whole story of epoxy in a nutshell: the coating is only as good as the preparation beneath it.
Related: What Epoxy Floor Coatings Can Do for Your Bellingham Garage or Shop
The Payoff of Doing It Right
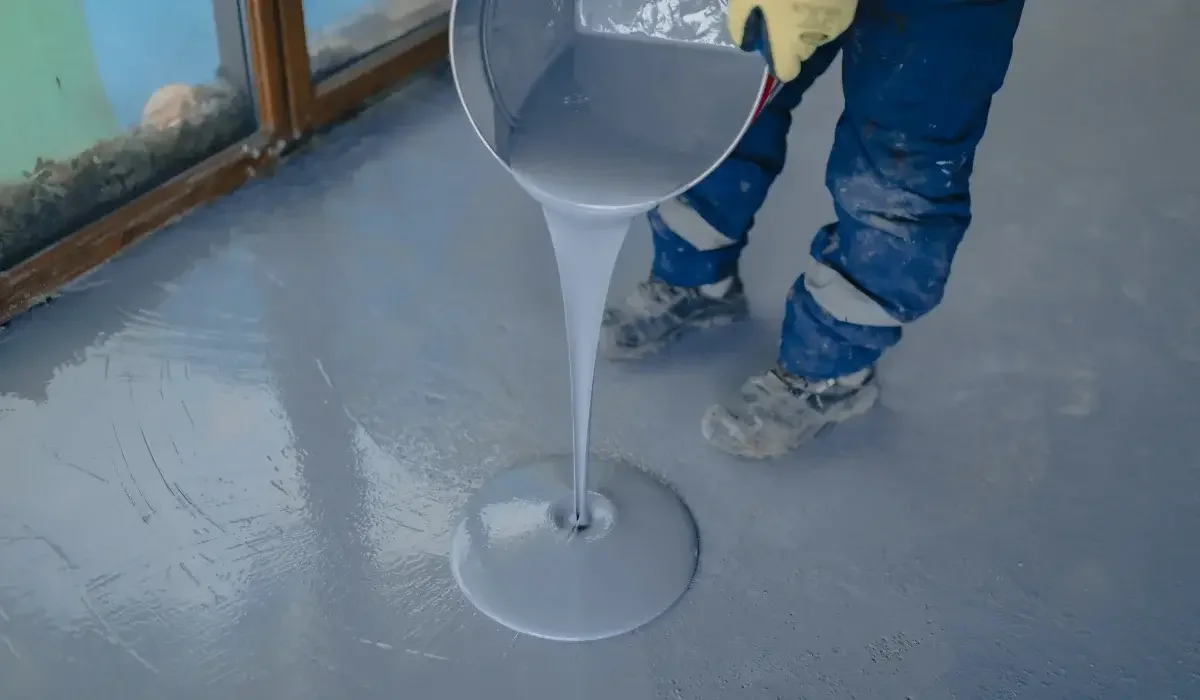
When surface prep is done correctly, the difference is dramatic and lasting. The floor bonds the way it's supposed to, resists hot tire pickup and chemical spills, shrugs off the moisture that would have doomed a poorly prepped floor, and keeps its finish for many years. Do the prep right, and the coating on top will do exactly what you hoped it would.
None of this is glamorous work, and it takes far longer than the coating itself. But it's the part that decides everything. A beautiful epoxy floor isn't really made when the coating goes on. It's made in all the careful steps that come before it.
Source:
Gromicko N, Gromicko B, Shepard K. Visual Inspection of Concrete. nachi.org. https://www.nachi.org/visual-inspection-concrete.htm
