

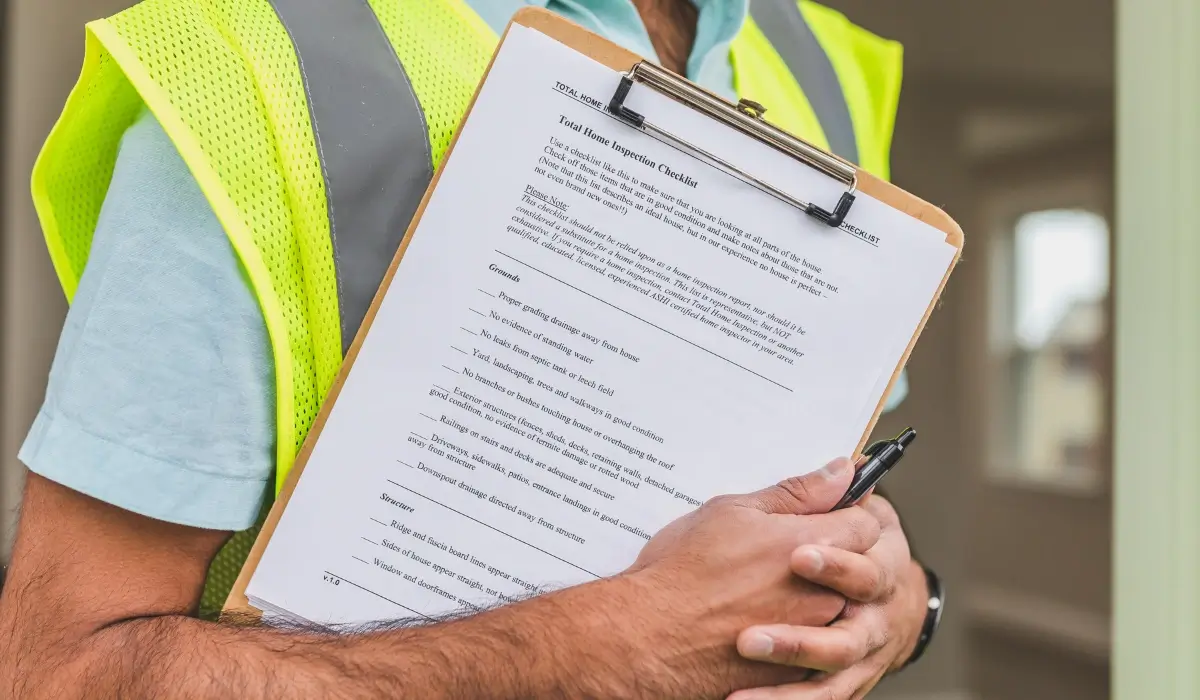
If you’ve never had a foundation inspection before, it can feel like a bit of a mystery. You know something isn’t right with your home, or maybe you just want peace of mind, and now someone’s coming out to look at the most critical structural element of your property. What exactly are they going to do? How long will it take? What happens after?
Understanding the process before it starts makes the whole experience less stressful and helps you get more out of it. At Foundation Restoration, we know a homeowner who understands what we’re doing and why is a homeowner who can make smarter decisions about their home. Here’s exactly what a professional foundation inspection looks like from start to finish.
Before the Inspector Arrives: How to Prepare
These few simple steps will help the inspection process go smoothly and make sure nothing gets missed.
Clear access to your basement or crawl space if you have one. Move any stored boxes, furniture, or shelving that’s sitting against foundation walls. The inspector needs to be able to see the walls clearly, and anything blocking them limits what can be assessed.
If you’ve noticed specific symptoms, write them down beforehand. Which doors are sticking? Where did you see a crack? When did you first notice the musty smell? The more context you can give, the more targeted the inspection can be. Also, if you have any previous inspection reports, permits, or records of past repairs, have those available. That history can be useful.
Step 1: The Exterior Walkthrough
A thorough foundation inspection always starts outside. The inspector will walk the full perimeter of your home, looking at the foundation from the outside and assessing the conditions surrounding it.
They’re looking at several things at once during this walk. They’ll examine visible sections of your foundation walls for cracks, spalling, or deterioration, check the grading of the soil around your home to see whether the ground slopes toward the foundation or away from it, and look at where your downspouts discharge and whether water is being directed away from the structure.
Inspectors will also note the condition of any window wells, the state of your exterior trim and siding near the foundation line, and any visible gaps or separations where the structure meets the ground. Landscaping, tree roots, and drainage patterns are all part of the picture during this phase.
Step 2: Interior Assessment of Living Spaces
Once the exterior walk is complete, the inspector moves inside. This part of the evaluation covers your main living areas and looks for the symptoms of foundation movement that show up above ground.
They’ll check your walls and ceilings for cracks, paying close attention to the pattern, direction, and width of anything they find. Diagonal cracks from door and window corners, horizontal cracks in basement walls, and stair step cracks in brick or block are all things they’re specifically watching for.
The foundation inspector will also check your doors and windows, testing whether they open and close properly or whether they’re binding and sticking in their frames. They’ll walk your floors looking for slopes, soft spots, and unevenness. They’ll identify gaps that have opened up between walls and ceilings, between trim and walls, or anywhere else that suggests the structure has been moving.
If you mentioned specific concerns when you scheduled the inspection, this is the phase where those get addressed directly.
Related: The Difference Between Cosmetic Cracks and Structural Cracks in Your Home
Step 3: Basement or Crawl Space Evaluation
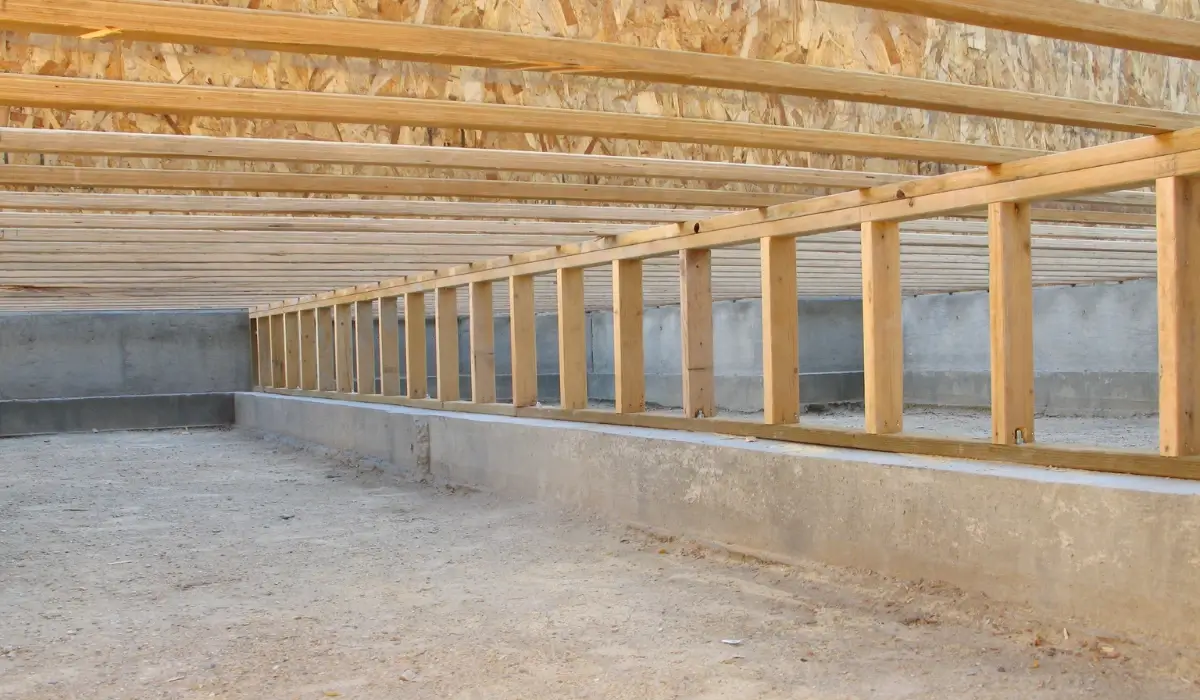
This is often the most revealing part of the inspection. Whether your home has a basement or a crawl space, getting eyes on the foundation walls and structural components from the inside tells the inspector a great deal about what’s actually happening.
In a basement, the inspector will examine the full height of the foundation walls for cracks, bowing, or moisture intrusion. They’ll look for efflorescence, which is that white chalky mineral deposit that forms when water moves repeatedly through concrete, as it’s a reliable sign of ongoing moisture activity. They’ll check where the walls meet the floor for any gaps or water staining, and they’ll look at the condition of any support columns or beams.
In a crawl space, the inspection covers the structural wood members, including joists and beams, for signs of rot, mold, or pest damage. Inspectors will assess the condition of any vapor barrier that’s present, check for standing water or evidence of past flooding, and look at the support piers and posts to see whether they’re stable and properly bearing the load of the structure above.
According to InterNACHI, the International Association of Certified Home Inspectors, inspectors should always attempt to access the foundation structure whenever it’s safe to do so, because that direct observation is what reveals conditions that aren’t visible from above.
Step 4: Measurements and Documentation
Beyond the visual assessment, a thorough inspection often includes taking floor level measurements to detect differential settlement. A laser level or digital measuring tool can reveal whether sections of your floor have dropped relative to others, which is one of the clearest indicators of foundation movement beneath the surface.
Everything the inspector observes gets documented. Photos of cracks, measurements of any floor elevation differences, notes on drainage conditions, and observations about moisture all become part of the record. This documentation matters both for the repair recommendation and for your own reference if you want to track changes over time or share findings with another professional.
Related: What Every Homeowner Should Know Before Getting a Foundation Repair Estimate

Step 5: The Findings Conversation
Once the physical inspection is complete, a good inspector will sit down with you and walk through what they found. This isn’t just a list of problems. It should be an explanation of what each observation means, why it matters, and how it relates to the overall condition of your foundation.
This is your opportunity to ask every question you have. What’s causing this? How long has this likely been happening? What happens if it isn’t addressed? Are there different approaches to fixing it? What would you recommend if this were your home?
A contractor who gives you honest, clear answers to those questions is one worth trusting. A contractor who rushes through findings and pivots quickly to selling you a repair is one worth being more cautious about.
Step 6: The Written Estimate and Repair Recommendation
Following the inspection, you should receive a written summary of the findings and, if repairs are recommended, a detailed estimate. That estimate should clearly describe the problem that was identified, the specific repair approach being proposed, the materials and methods involved, a project timeline, the total cost, and warranty information.
If the inspection reveals that no repairs are currently needed, a good inspector will tell you that clearly and may suggest a monitoring schedule or some preventive steps you can take to stay ahead of potential issues.
Related: Why Getting a Second Opinion on Foundation Work Could Save You Thousands

What Happens After
If repairs are recommended, you don’t have to decide on the spot. Take the written estimate, review it carefully, and if you have any doubts, get a second opinion from another qualified foundation specialist. A trustworthy company won’t pressure you into a same day decision.
If everything checks out fine, you’ll leave the inspection with something invaluable: confidence in the condition of your home and a clear picture of what to watch for going forward.
At Foundation Restoration, we take the time to do inspections right and to make sure you fully understand what we’re seeing and why it matters. If you’re ready to schedule an inspection or just want to talk through what you’ve been noticing, reach out to our team today.
Reference:
- InterNACHI (International Association of Certified Home Inspectors). Foundation Inspection. nachi.org. https://www.nachi.org/foundation-inspection-hhenews.htm

Leave A Comment
You must be logged in to post a comment.